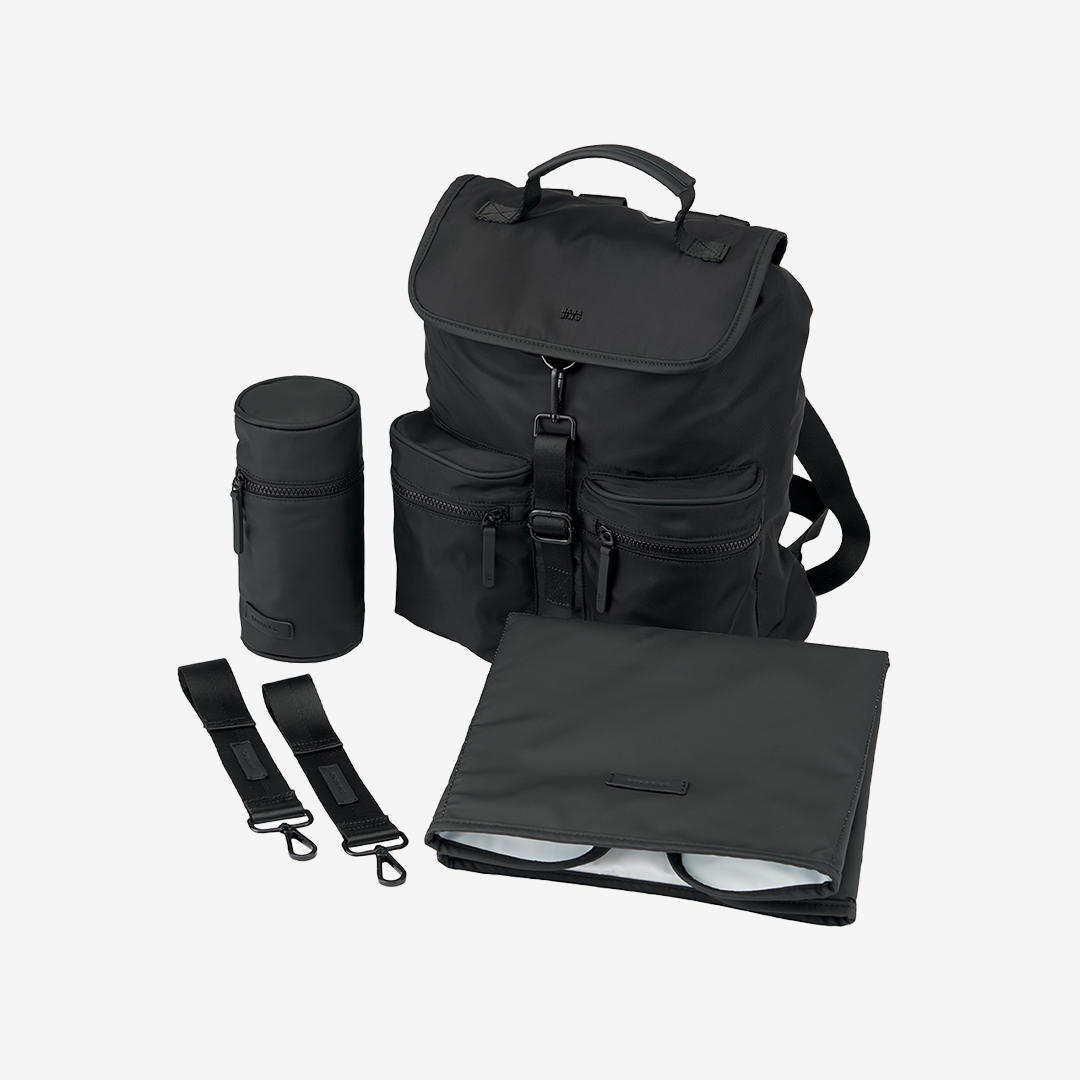
How do you keep your diaper bag and your changing mat germ free? Check out our advice for cleaning your baby changing gear and make them look as good as new.
How to Keep Your Baby Changing Gear Clean
How to Clean Your Diaper Bag
Baby diaper bags are notorious for getting dirty. They’re a minefield of dirt and stains. Think spilled milk, mushy banana and grubby floors – not to mention your baby’s dribbles, pee, poo and reflux which are bound to make a mess of your diaper bag.
As a new parent, you basically end up carrying your life around with you in your diaper bag. And since your bag has so many uses – as your hospital bag, your handbag and of course your bag for baby days out – you’ll want to keep it looking good. So let’s get to it and learn how to clean your diaper bag.
Step one – empty your diaper bag
Unzip all the pockets and get everything out before you start cleaning. Roll the bag inside out to shake away any leftover crumbs too!
Step two – tackle the serious stains first
Grab an old tea towel and fill up a bowl with warm soapy water or a small amount of detergent. Dip your tea towel in the bowl, wring it out and gently rub away the stains. If you have some really stubborn marks, add a teaspoon of baking soda to your mix for extra stain-removal power.
Most diaper bags are made from polyester or cotton and can usually be cleaned safely with soapy water. However, if you have a leather diaper bag, you might need specialist products to avoid damaging it. Check your bag’s inside wash label before going ahead, just in case.
Step three – wash the inside
Make up a new bowl of warm soapy water and use your slightly damp tea towel to clean the inside of your diaper bag, wiping in a circular motion. Pulling your bag inside out will help you reach right into those pockets and get to the bottom of the lining.
Step four – wipe the outside
Using the same method as step three, you can clean the outside of your diaper bag. Lightly wipe the tea towel over your bag’s exterior in small circles, gradually cleaning away any build-up of dirt. Give the handles the same treatment. Finally, rub the outside of your bag with a baby wipe or two for the perfect finish.
Step five – air dry your diaper bag
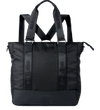
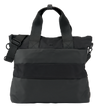
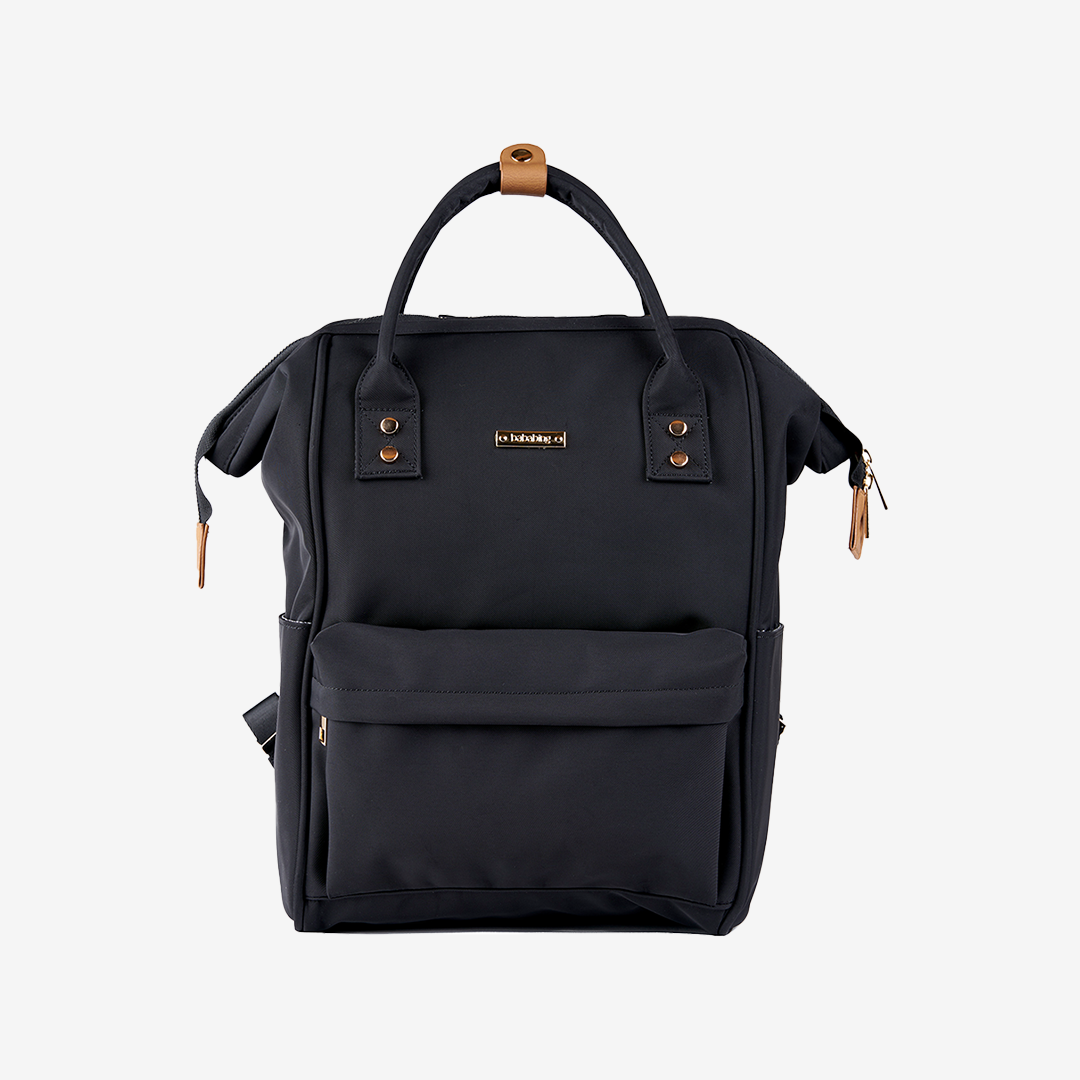
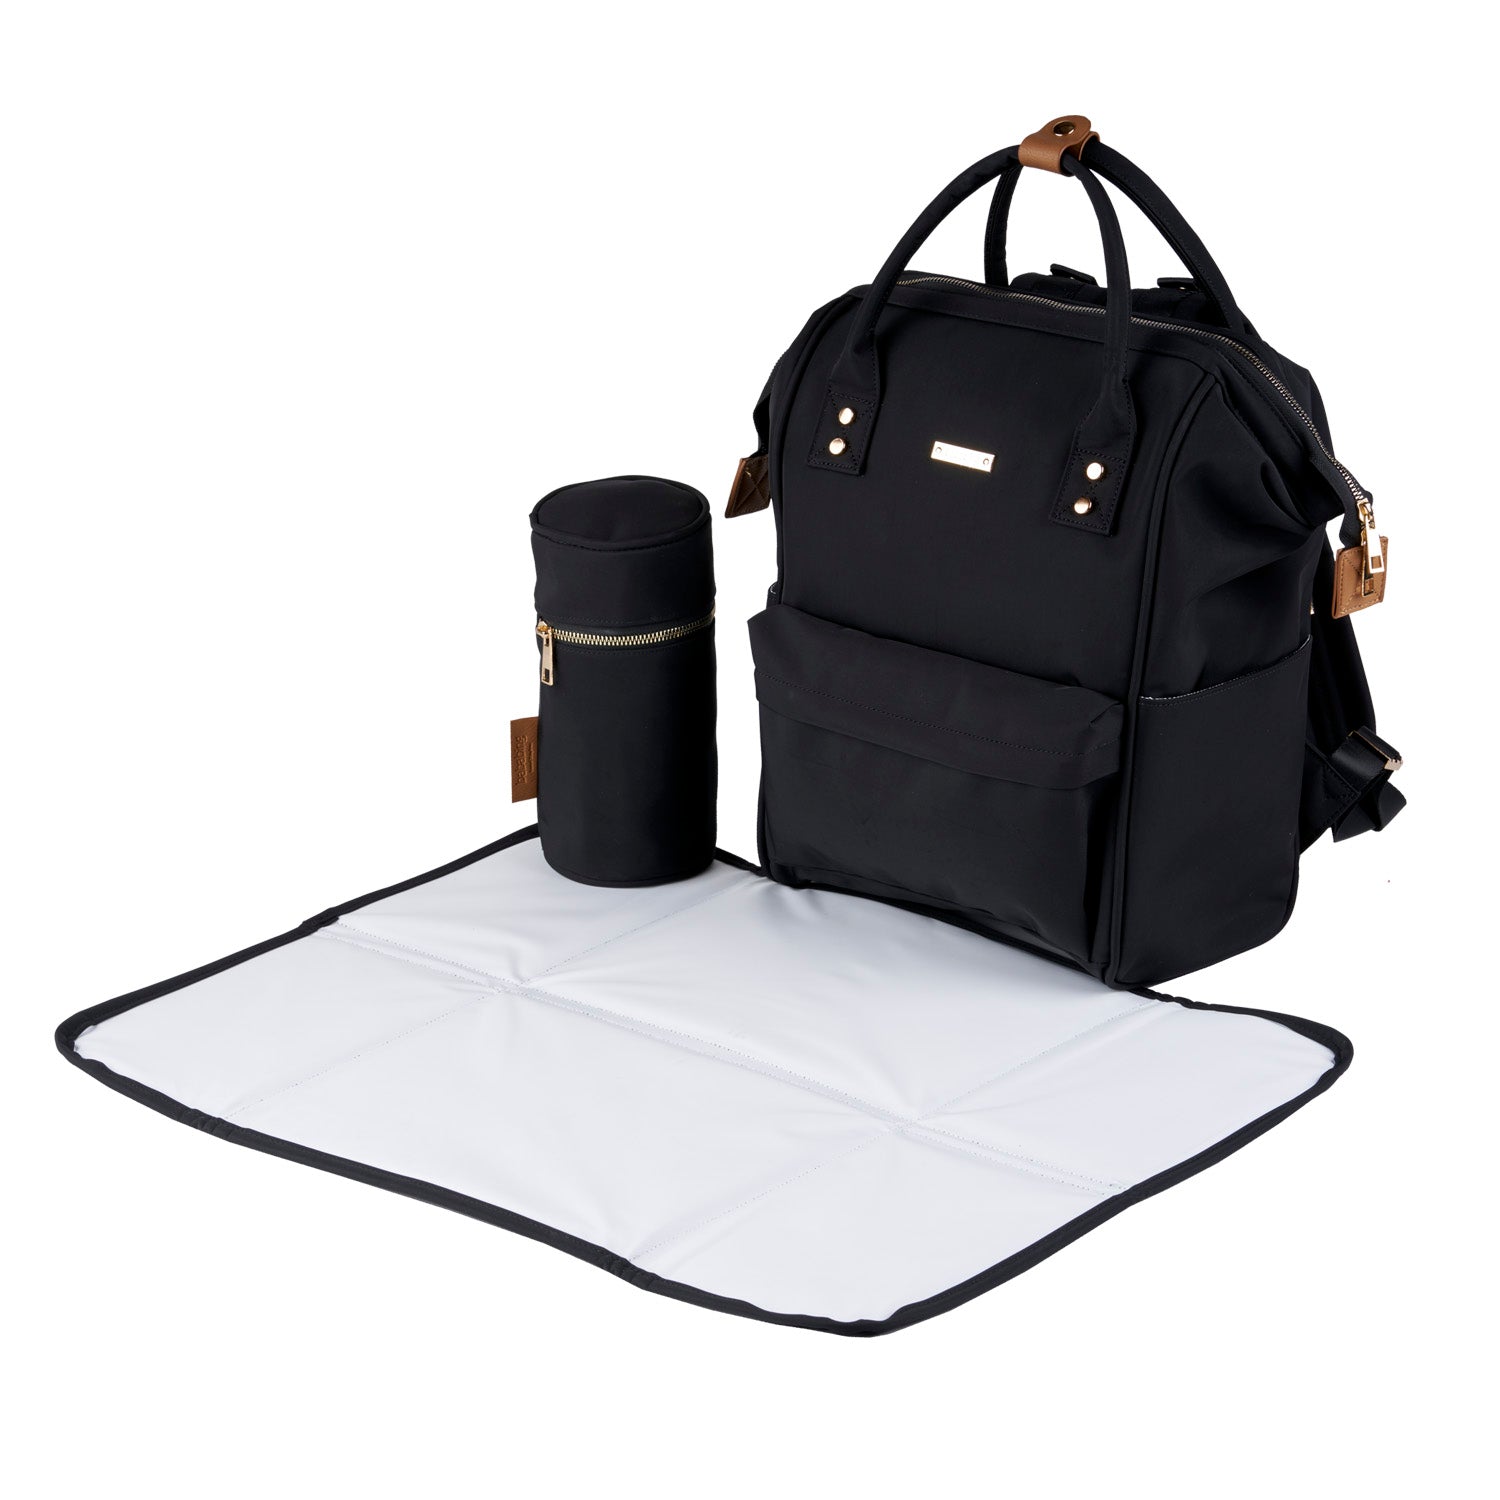
Pop your bag out to air dry, hanging it upside down with the pockets open, so any excess water drips out. Be careful of putting your diaper bag in the tumble dryer, as this can damage your bag and put it out of shape. Diaper bags like the Bababing Sorm Changing bag have an easy-to-clean wipeable surface, so you don’t have to struggle with stains. It also has leatherette handles and pullers, which can be simply wiped down if they get dirty.
Unfortunately, cleaning your bag is just the beginning. Most high-quality diaper bags come with their own baby changing mat, which can get even messier than your bag. The hard work’s not over yet…
Cleaning Your Baby Changing Mat
After you’ve changed your baby’s nappy, your little one might be clean and dry – but your changing mat probably won’t be! Babies can get very wriggly during nappy changes, which unfortunately means any leaks will escape right onto your changing mat. And because you could be changing your newborn’s nappy around 12 times a day, the chances are even the most relaxed baby will leave a little mess for you to deal with.
Keeping your changing mat clean is really important to avoid spreading germs and making sure your baby has a safe, hygienic space to lie on during nappy changes. Our top tips can help you keep your baby changing mat clean and sanitised after every use.
Step one – find a good spot
Most new parents don’t change their baby in just one place. It’s just not realistic for young children who need changing so often.
But you should try to keep away from areas where you eat, like the dinner table or a kitchen counter. You don’t want to sit down for breakfast and spy a small puddle (or worse) that you accidentally missed while cleaning up after the last nappy change!
Step two – use the nappy
Once you realise your baby needs changing, wait a few minutes before removing their nappy just in case they aren’t finished. This helps to avoid any poo explosions on your changing mat! Then use the nappy to wipe up the bulk of the mess from your baby’s bottom so you’ll have less to clean later.
Step three – cover up explosions
If your baby has an explosive poo, it might sometimes slide up the top of your changing mat (honestly, they really do go everywhere). If this happens, cover up the mess with toilet paper or a towel. That way your squirmy baby can’t put their waving hands in the poo and potentially spread it about even more!
Step four – roll up the nappy
Whether you’re using a disposable or a reusable nappy, roll it up immediately after use to avoid any mess leaking out onto your baby changing mat. You can secure the rolled-up nappy by refastening the tabs or poppers. This will help to contain the stinky smell too!
Step five – wipe the baby changing mat clean
Take your baby to safe place (like their cot), so your hands are free to clean up the last of the mess on your baby changing mat. Even if you can’t see any remains, always clean your changing mat after every use to keep it germ free. First, use a couple of baby wipes to mop up leftover pee and poo. Then wash your baby changing mat with hot soapy water to make sure it’s completely sterile and sanitary for next time. Afterwards, wash your hands thoroughly.
Ta-da! You’ve successfully cleaned your baby changing mat. No doubt you’ll be back in a few hours to repeat the process – babies go through a lot of nappies. But for now, you can go and enjoy a cuddle with your little one and relax.

